Crafting Your Own Custom Split Mechanical Keyboard: A Guide
Written on
Chapter 1: Introduction to Custom Split Keyboards
Over the past month, I have embarked on the exciting journey of designing my own split mechanical keyboard. While I haven't completed the keyboard yet, I've received numerous packages filled with electronic components.
In theory, crafting a custom keyboard requires a steep learning curve. However, you don't have to dive deep into complex topics right away; there are shortcuts you can take to grasp the basics and refine your design later on.
From my calculations, if you source the parts yourself and have the PCB manufactured, it could cost about a third of what you would pay for a pre-made kit on platforms like Etsy. In fact, you could potentially create three keyboards for the same budget. If you have friends or family who are also interested in this project, this guide will be particularly beneficial.
Chapter 1.1: Project Overview
In this section, I aim to update you on my project, share the Bill of Materials (BOM) required for a similar build, and highlight my sources of inspiration. For a deeper understanding, I recommend reading my previous article:
Christmas Time! A Split Mechanical Keyboard, You Can Build Yourself!
Chapter 1.2: Bill of Materials
One of my initial challenges was figuring out what components to purchase. In my previous article, I outlined the necessary parts, but I soon found myself confused about standard references for these components. I turned to Reddit for feedback on the BOM for a Corne keyboard, which included many features I was eager to explore.
Here’s a rundown of what I gathered:
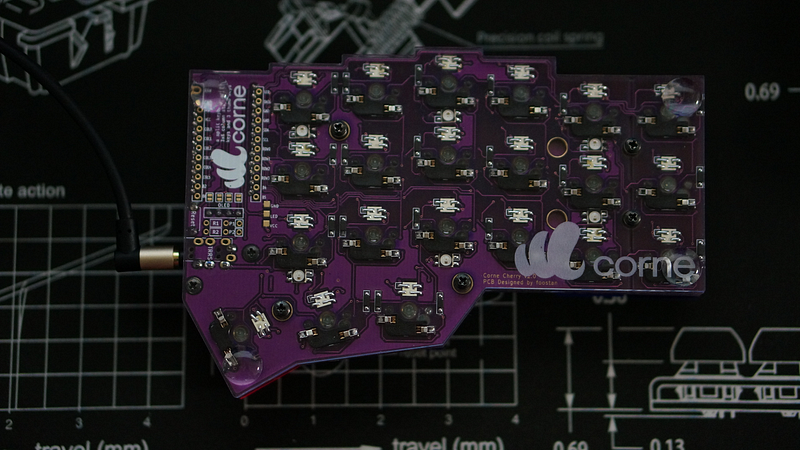
- PCB (Body): I downloaded the Gerber files from the official GitHub repository and submitted them to jlcpcb.com without any modifications. The cost was $17 plus shipping for five copies, meaning you can effectively create five Corne keyboards for that price.
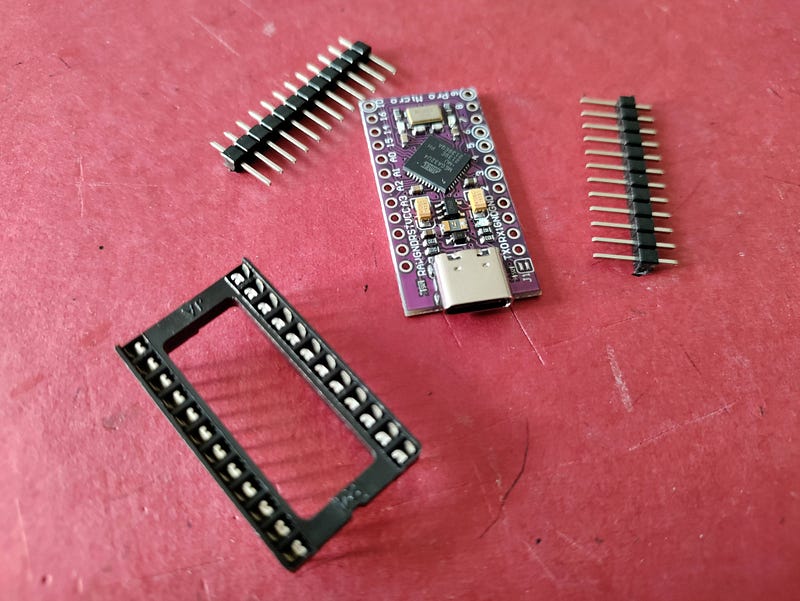
- Microcontroller: Two Arduino Pro Micro boards or comparable alternatives are essential for the keyboard's functionality. I opted to add 24-pin sockets to facilitate easy swapping of the microcontroller. Each Arduino cost $6, while the sockets were just $0.30 each.
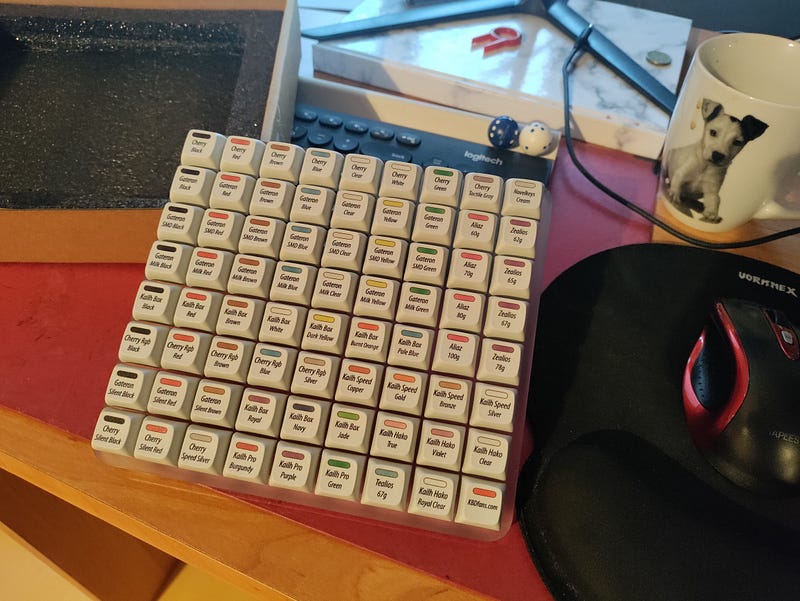
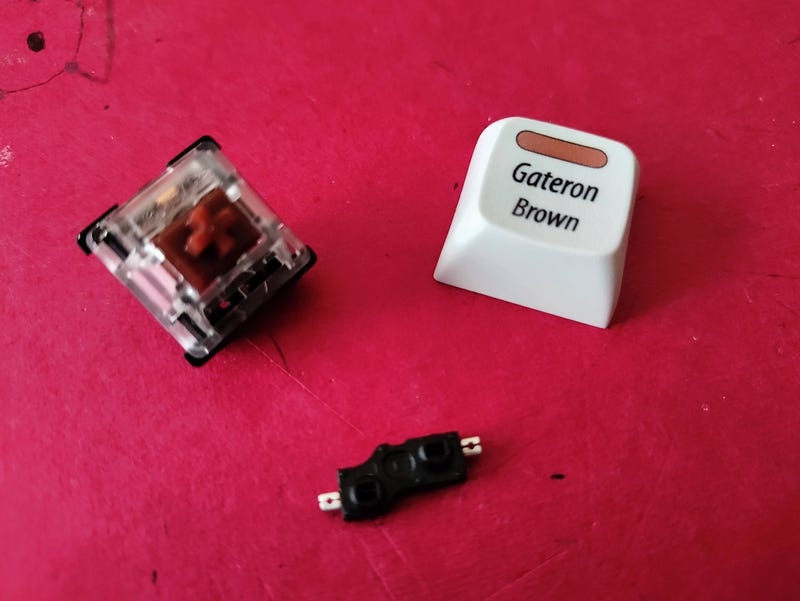
- Key Switches: I selected Gateron Brown switches, which are similar to Cherry MX Brown but more budget-friendly. To test my preferences, I purchased a 72-key tester. I also included hot-swap PCB sockets to allow easy replacement of switches in future builds, costing about $15 for 42 switches and sockets.
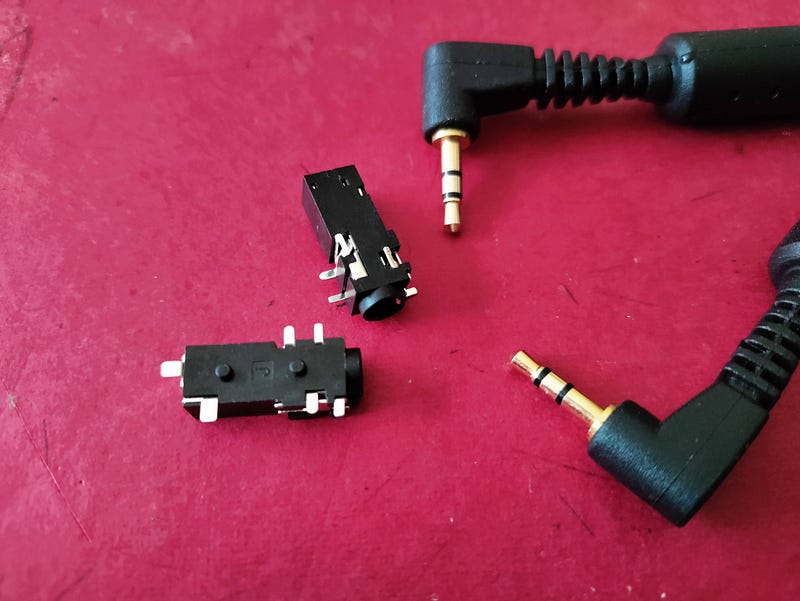
- Communication: For a split keyboard, both halves need to communicate, which I achieved using TRSS jacks and sockets. The sockets were about $1 each, and I had several spare jacks available.
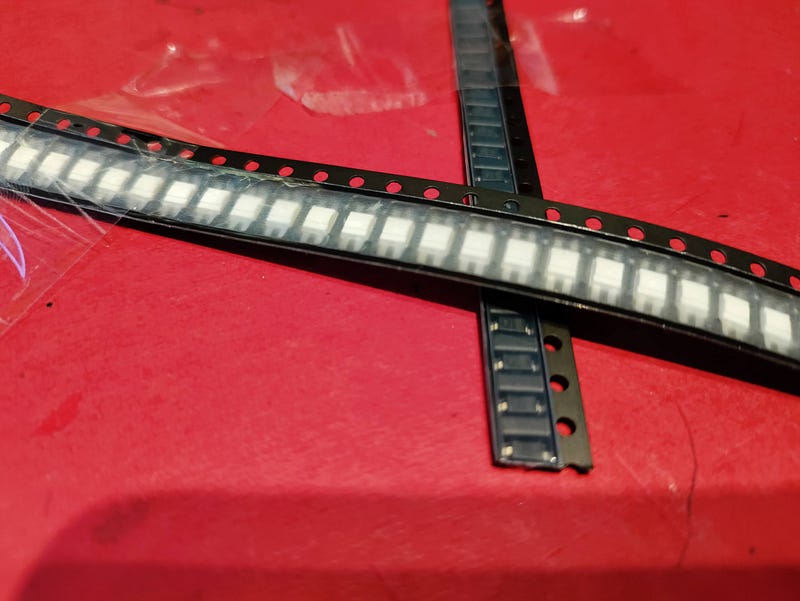
- Diodes and LEDs: Diodes (1N4148) are necessary for the key matrix to ensure that multiple key presses are registered correctly. Additionally, I included WS2812B addressable LEDs for vibrant colors and interactivity. Expect to spend about $5 for 50 LEDs and $2 for the diodes.
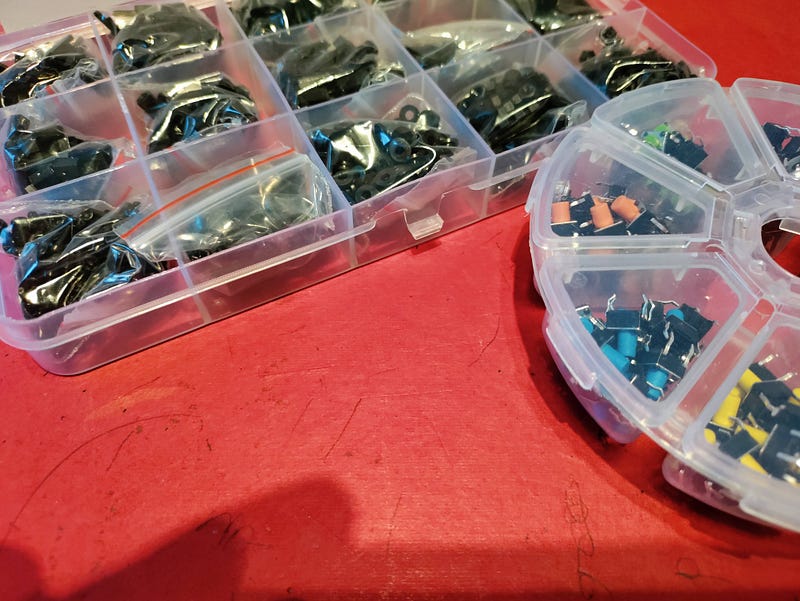
- Additional Components: I also procured two reset buttons to toggle the LED feature and some spacers for securing the PCB within the case.
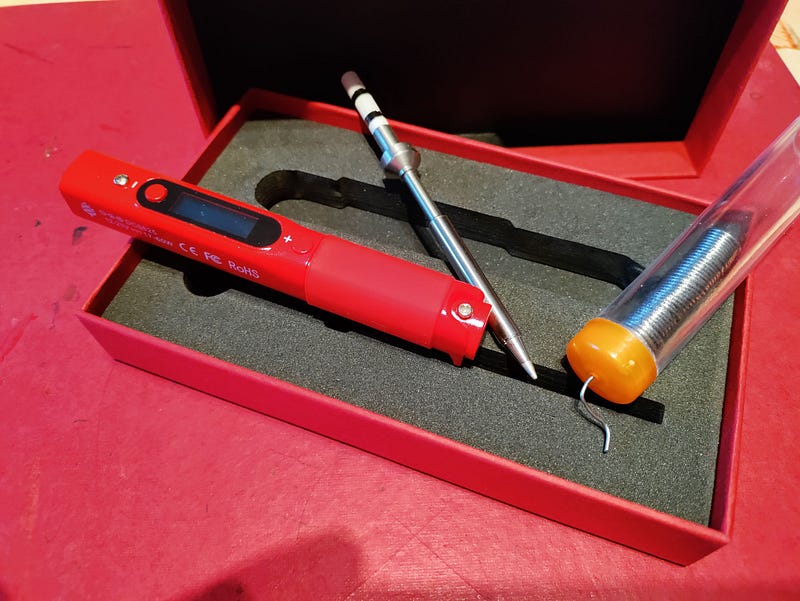
- Soldering Equipment: Finally, I needed a soldering iron to assemble everything. After reviewing several YouTube videos, I chose the Pine64, which is both versatile and affordable.
Chapter 2: What’s Missing?
I have not included keycaps or a case in this build. While waiting for the PCB to arrive, I plan to explore the possibility of 3D printing my own keycaps and casing. I'm excited to explore all the options available and see what I can create independently.
Chapter 3: Sources of Inspiration
One of my primary sources of inspiration for this project has been an article I bookmarked early on, which illustrated how simple it could be to design my own keyboard. The concept of crafting an entire project appealed to me far more than purchasing a pre-assembled kit.
- A Tiny, Ultra-Affordable Keyboard You Can Build Yourself! by Ben Vallack.
Another valuable resource has been the subreddit r/ErgoMechKeyboards, where enthusiasts share their builds and ideas. This community has helped me compile a curated list of popular models and findings.
For further inspiration, I recently came across Ben Vallack's refined process for creating custom keyboards, which provided me with the tools I needed to dive deeper into personalizing my build.
Now, let's take a look at some helpful videos that offer insight into the building process.
This video titled "I built an ergonomic columnar split keyboard: build process review" provides a detailed overview of the construction process for a split keyboard.
The second video, "Building a Custom Split Ergonomic Keyboard with a Trackpoint," showcases a unique approach to crafting a split ergonomic keyboard with added features.